Quick answer: use a short clip with the subject separated from the green background, start with moderate Tolerance, then adjust Edge softness and Green spill reduction while watching the transparent preview.
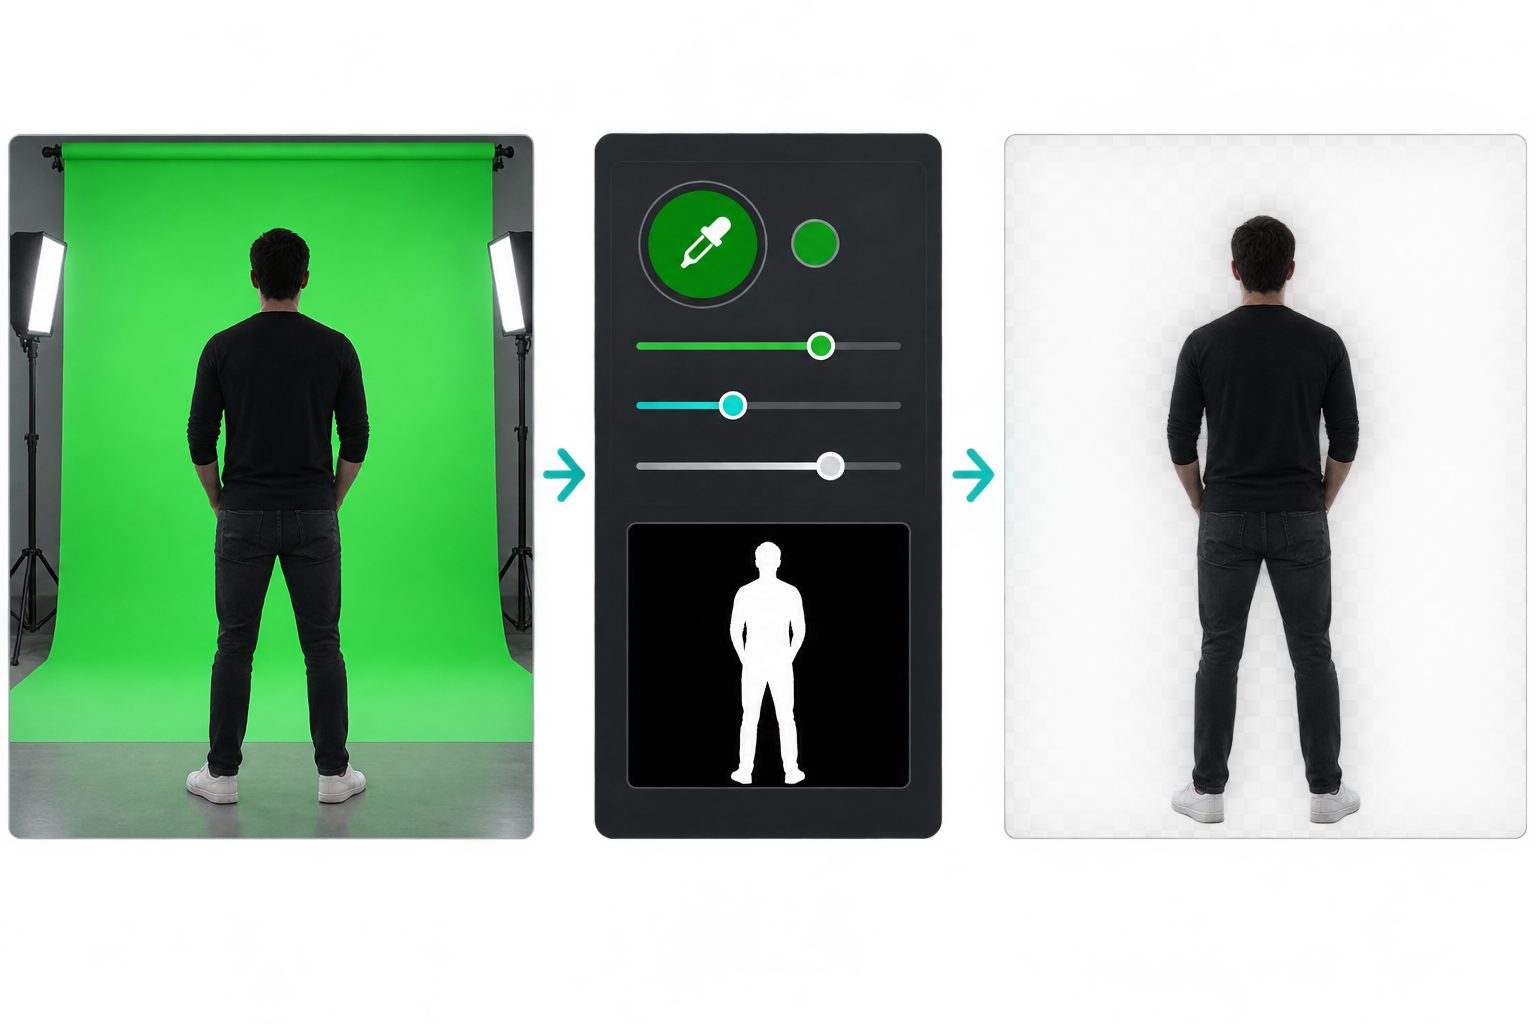
1. Start with the right video
The remover works best when the background is evenly lit and the subject is not wearing the key color. Short clips keep browser processing responsive. Trim a long recording before opening it, and avoid heavily compressed footage when fine hair or fast movement matters.
2. Tune the background removal
Choose Green, then raise Tolerance slowly until the background disappears. If the subject starts losing similar colors, lower Tolerance again. Add a little Edge softness only when the border looks hard, and use Green spill reduction when reflected green light remains.
3. Pick the right transparent export
Transparent WebM is convenient for editors and web overlays that support alpha video. PNG frames are a safer fallback when you need to inspect individual frames or assemble them elsewhere. This workflow does not include the original audio track.
4. Check the result before publishing
Preview the cutout against a light and dark background. Look around hair, hands, and fast-moving edges. If detail disappears, reduce Tolerance before changing anything else. If a green halo remains, use a small increase in spill reduction.
Frequently asked questions
What is the best video for a green screen remover?
Use a short clip with even lighting, a clean background, and visible separation between the subject and the screen.
Why does the transparent result look rough?
Uneven lighting, motion blur, green clothing, and compression can make a color key less precise.
Should I export WebM or PNG frames?
Use WebM when your destination supports alpha video. Choose PNG frames when compatibility and frame-by-frame inspection matter more.